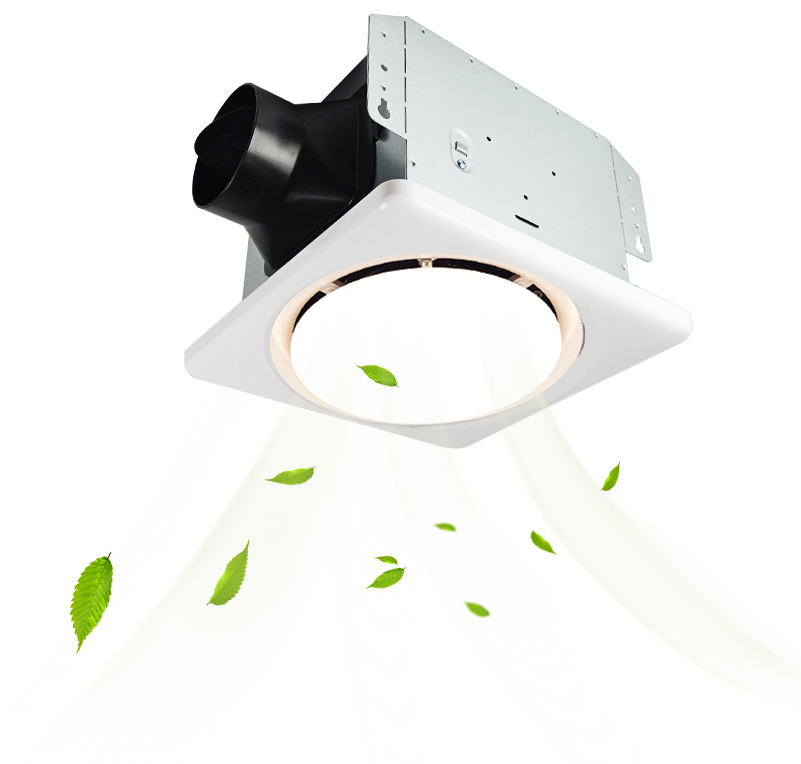
What is junction box (J-BOX) and how to install a ceiling light with it

A junction box (J-BOX) serves several important functions in electrical systems:
Protection: It safeguards electrical connections from environmental factors like dust, moisture, and physical damage, reducing the risk of electrical faults and fires.
Safety: By enclosing electrical connections, it prevents accidental contact with live wires, protecting people from electric shocks.
Organization: It helps in organizing and managing multiple electrical connections, making it easier to troubleshoot and maintain the system.
Accessibility: Junction boxes provide a convenient access point for electricians to inspect, repair, or upgrade electrical connections without disturbing the entire system.
Compliance: They ensure that electrical installations meet safety codes and standards, which is crucial for both residential and commercial buildings.
Installing a ceiling light with a junction box involves several steps. Here’s a general guide to help you through the process:
Tools and Materials Needed:
Ceiling light fixture
Junction box
Screwdriver
Wire strippers
Electrical tape
Wire nuts
Drill (if needed)
Voltage tester
Steps:
Turn Off Power: Ensure the power to the circuit you’ll be working on is turned off at the breaker box. Use a voltage tester to confirm that the power is off.
Remove Existing Fixture: If replacing an old fixture, remove it by unscrewing it from the ceiling and disconnecting the wires.
Install the Junction Box:
Locate the Studs: Use a stud finder to locate the ceiling joists.
Cut the Hole: Cut a hole in the ceiling where you want to install the junction box.
Mount the Box: Attach the junction box to the ceiling joist or use a mounting bracket if necessary. Ensure it’s securely fastened.
Connect the Wires:
Strip the Wires: Strip about 1/2 inch of insulation from the ends of the wires.
Match the Wires: Connect the black (hot) wire from the ceiling to the black wire from the fixture, the white (neutral) wire to the white wire, and the ground wire to the ground screw or green wire.
Secure with Wire Nuts: Twist the wire nuts onto the connections and wrap them with electrical tape for added security.
Attach the Fixture:
Mount the Fixture: Attach the light fixture to the junction box according to the manufacturer’s instructions.
Secure the Fixture: Ensure the fixture is securely fastened to the junction box.
Restore Power and Test:
Turn On Power: Turn the power back on at the breaker box.
Test the Light: Turn on the light switch to ensure the fixture is working properly.
Safety Tips:
Always double-check that the power is off before working with electrical wiring.
If you’re unsure about any part of the process, consider hiring a licensed electrician.
Want a new ceiling light? Check below!
What is lumen? Why do you need to pay attention to lumens when buying light fixtures?
LED Vanity Light focusing on reducing shipping costs by 40%.
Related Article